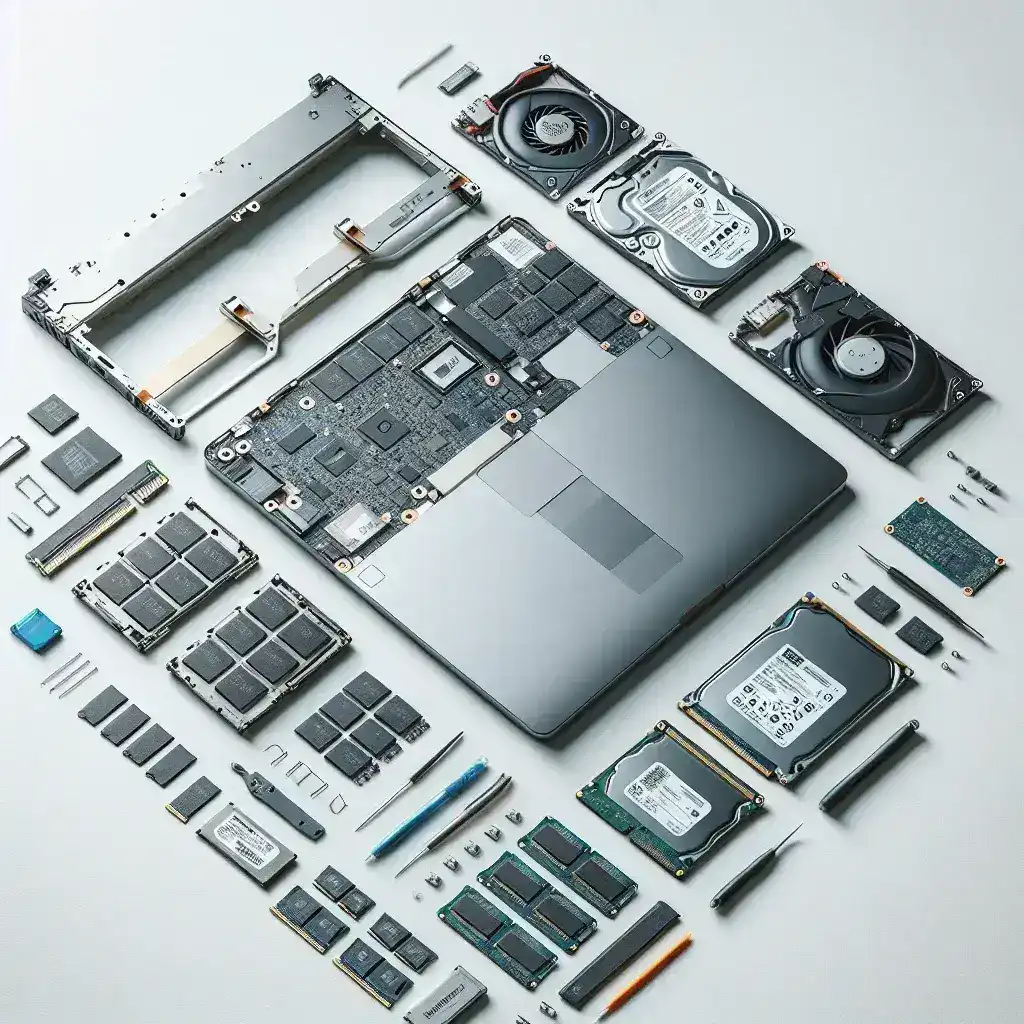
Upgrading a laptop can be a cost-effective way to extend its lifespan and improve its performance. Unlike upgrading a desktop PC, laptops have a limited number of components that can be replaced or upgraded. However, with the right tools and guidance, you can upgrade certain parts of your laptop, such as RAM, SSD, battery, and more, to keep your machine running smoothly.
Why Upgrade Your Laptop?
Before diving into the how, let’s consider the why. Upgrading your laptop can bring several benefits:
- Improved Performance: Faster RAM and a speedier SSD can significantly enhance your laptop’s responsiveness and overall performance.
- Cost Savings: Upgrading specific components is often more affordable than purchasing a new machine.
- Extended Lifespan: Replacing worn-out parts can give your laptop a new lease on life, delaying the need for a new purchase.
- Personal Satisfaction: Accomplishing upgrades yourself can be rewarding and educational.
Key Components for Laptop Upgrade
Let’s explore the key components that you can upgrade in a laptop:
| Component | Purpose | Benefits |
|---|---|---|
| RAM | Increases the system’s memory capabilities | Improved multitasking, faster data access |
| SSD | Replaces old hard drive for data storage | Faster boot times, quicker file access |
| Battery | Provides power to the laptop | Longer usage between charges |
| Wi-Fi Card | Enables wireless internet connectivity | Better internet speeds, improved connection stability |
Tools You’ll Need
- Small screwdrivers
- ESD wrist strap (to prevent electrostatic discharge)
- Plastic prying tools
- New replacement parts
Step-by-Step Guide to Upgrading Your Laptop
1. Upgrading the RAM
Follow these steps to upgrade your laptop’s RAM:
- Shut down your laptop and disconnect all power sources.
- Remove the back panel by unscrewing the necessary screws.
- Locate the RAM slots. These are usually near the center of the motherboard.
- Release the existing RAM sticks by pressing the clips on both sides.
- Insert the new RAM sticks until they click into place.
- Reassemble the back panel and power up your laptop to check if the new RAM is recognized.
2. Upgrading to an SSD
Steps to replace your existing hard drive with an SSD:
- Back up all your important data.
- Disconnect the laptop from all power sources.
- Remove the back panel by unscrewing the screws.
- Locate the current hard drive. It is usually held in place by screws or caddies.
- Unscrew and carefully remove the old hard drive.
- Insert the new SSD into the slot or caddy.
- Reattach the back panel and power on your laptop.
- Install an operating system on the new SSD if required.
3. Replacing the Battery
To replace your laptop’s battery, follow these steps:
- Turn off the laptop and unplug it from any power source.
- Remove the screws holding the back panel and take it off.
- Locate the battery; most are fixed with screws and connected via a cable.
- Disconnect the battery cable and remove the screws holding the battery in place.
- Take out the old battery and insert the new one.
- Reconnect the battery cable, screw back the battery, and reassemble the back panel.
- Power on your laptop to ensure the new battery is working correctly.
4. Upgrading the Wi-Fi Card
To upgrade your laptop’s Wi-Fi card, follow these steps:
- Turn off your laptop and unplug all power sources.
- Remove the back panel by unscrewing the necessary screws.
- Locate the Wi-Fi card. It is usually a small card attached with screws and antenna cables.
- Unscrew the old Wi-Fi card and gently disconnect the antenna cables.
- Insert the new Wi-Fi card, reconnect the antenna cables, and screw it into place.
- Reassemble the back panel and power on your laptop.
- Install any necessary drivers for the new Wi-Fi card.
Conclusion
By following this guide, you can successfully upgrade your laptop’s RAM, SSD, battery, and Wi-Fi card, thereby significantly improving its overall performance and lifespan. Always ensure that you have a clean and organized workspace, and handle all components with care. Happy upgrading!

